
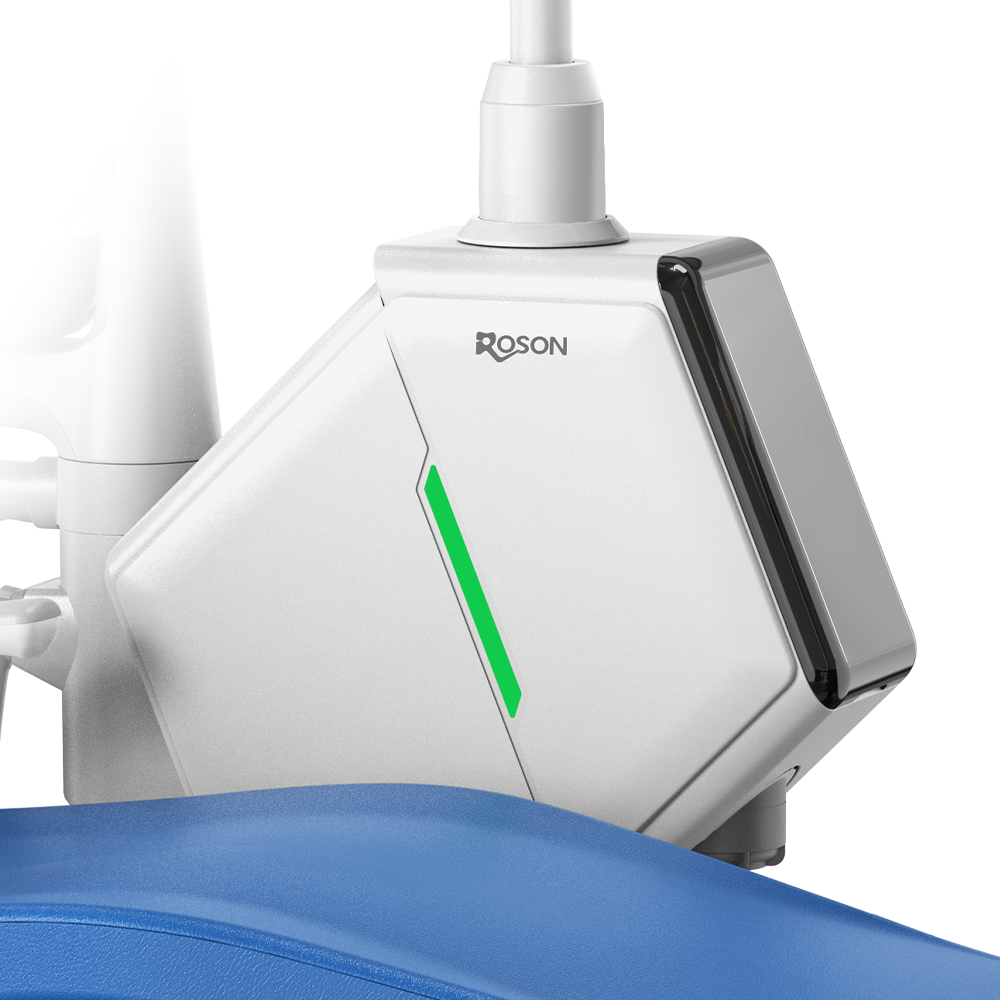
Setting up a dental office around new equipment requires more than finding enough floor space for a treatment chair. The selected unit must fit the operatory, connect correctly to existing utilities, and support the dentist’s preferred working arrangement. For that reason, choosing a dental unit manufacturer should happen alongside room and installation planning, not after construction decisions have already been finalized.
A smoother setup starts with the treatment room itself. Its dimensions, utility points, furniture arrangement, and clinical workflow determine how the equipment should be configured. The manufacturer can then translate those requirements into an installation plan.
What Needs to Be Ready Before the Unit Arrives
An empty treatment room may look ready for dental units, but several details need confirmation first. The planned position of the patient chair should be marked together with the working areas for the dentist and assistant.
Utility points also need to correspond with the selected model. Water, air, drainage, and electrical provisions should be checked against the manufacturer’s installation information rather than assumed from another dental chair or unit.
The A3 product page, for example, provides a visual installation guide and identifies water and air pipelines as part of its configuration. Such model-specific information gives contractors a reference before the equipment reaches the clinic.
Clear access for delivery and assembly deserves attention too. A unit may be suitable for the final room but difficult to move through a narrow doorway or around fixed cabinetry. Confirming access beforehand can prevent avoidable installation delays.
Let the Treatment Room Shape the Equipment Configuration
Equipment configuration should follow how treatment will actually be performed. Handpiece position, assistant access, chair movement, and the location of controls can all influence how comfortably the dentist and assistant work around the patient.
The A3 supports three handpiece placement arrangements: over-the-patient, swing-mounted, and cart-mounted. Its handpiece holder also has four adjustable angles from 30° to 80°, allowing the equipment arrangement to be specified around operator preference.
Such choices should be settled during ordering rather than after installation. A clinic that frequently uses four-handed dentistry may prioritize a different arrangement from a practice where the dentist works with less assistant involvement.
Customization can also concern the physical appearance and contact surfaces. The A3 offers multiple upholstery choices and color selections, while its configuration can be customized according to customer requirements.
For procurement teams, the practical question is therefore not simply which model has the longest feature list. The better question is which configuration fits the room and the intended clinical workflow.
Confirm Every Connection Before Installation Day
A dental unit becomes part of the office’s infrastructure once it is installed. That makes connection planning one of the most important points to settle between the contractor, clinic, and dental unit manufacturer.
Water and air connections should be checked against the exact equipment configuration. Drainage needs to be positioned appropriately, while electrical requirements should be confirmed from the manufacturer’s documentation rather than estimated from another model.
The A3 configuration information specifies components such as water and air tubing, an air regulator, a water heating system, and an infrared and gravity dual-induction water supply system. These details illustrate why the installation team needs model-specific information before preparing the room.
A written installation checklist can keep responsibilities clear. It should identify which building services are prepared by the contractor, which connections are handled by qualified personnel, and which equipment functions require verification by the supplier or service team.
Test the Unit as a Working Operator, Not Just a Product
Commissioning should reproduce the way the unit will be used during treatment. Chair movement, foot controls, handpiece positioning, lighting, water delivery, and assistant-side functions should be checked rather than relying on a simple power-on test.
The A3 includes a medical-grade color LCD interface, startup self-check, error-code display, and three customizable chair memory positions. Its assistant arm also has an anti-collision function designed to pause and reverse movement when an obstacle is detected.
Water functions deserve their own check. The unit provides automatic cup detection and controlled water dispensing, while its one-key intelligent drainage function raises the chair and initiates a five-minute spittoon flushing cycle.
Cleaning-related functions should be reviewed with the clinical team before patient treatment begins. The A3 incorporates a micro-electrolysis disinfection system, and the manufacturer publishes test documentation relating to bactericidal performance and other characteristics of that system.
This final testing stage is also the right time to record the delivered configuration. Optional components, control settings, and any customized features should match the purchase specification.
Keep the Manufacturer Involved Until Handover
A dental unit manufacturer has a useful role beyond supplying the equipment. Configuration confirmation, installation documentation, operating instructions, troubleshooting information, and service contacts can all affect how efficiently a new operatory becomes operational.
Roson lists specific configuration options for the A3 and states that configurations can be customized according to customer requirements. The published product information also identifies warranty periods for selected components, including the water and air pipelines, motor, upholstery material, and dental light.
A proper handover should leave the clinic with more than a functioning chair. The team should know the delivered configuration, basic operating procedures, cleaning-related functions, and the appropriate route for technical support.
By supplying tailored installation details for the A3, Roson gives clinics a practical resource to seamlessly coordinate setup workflows with their contractors and technical teams.
Successful installation depends on treating the equipment, room, and infrastructure as one project. The clinic should prepare the operatory before delivery, finalize the configuration before ordering, verify every required connection, and test the installed system under realistic working conditions.
With the right dental unit manufacturer involved throughout that sequence, the transition from an empty treatment room to a functioning operatory becomes much more controlled.